model = YOLO(model, task=task) #这里面的model就是命令行当中输入的模型的名字,task就是detect
以及
1 2
# Run command in python getattr(model, mode)(**overrides) # default args from model mode就是predict overrides就是命令行中你输入的其他内容
最后getattr这一段等效于(具体的还需要再去挖):
1
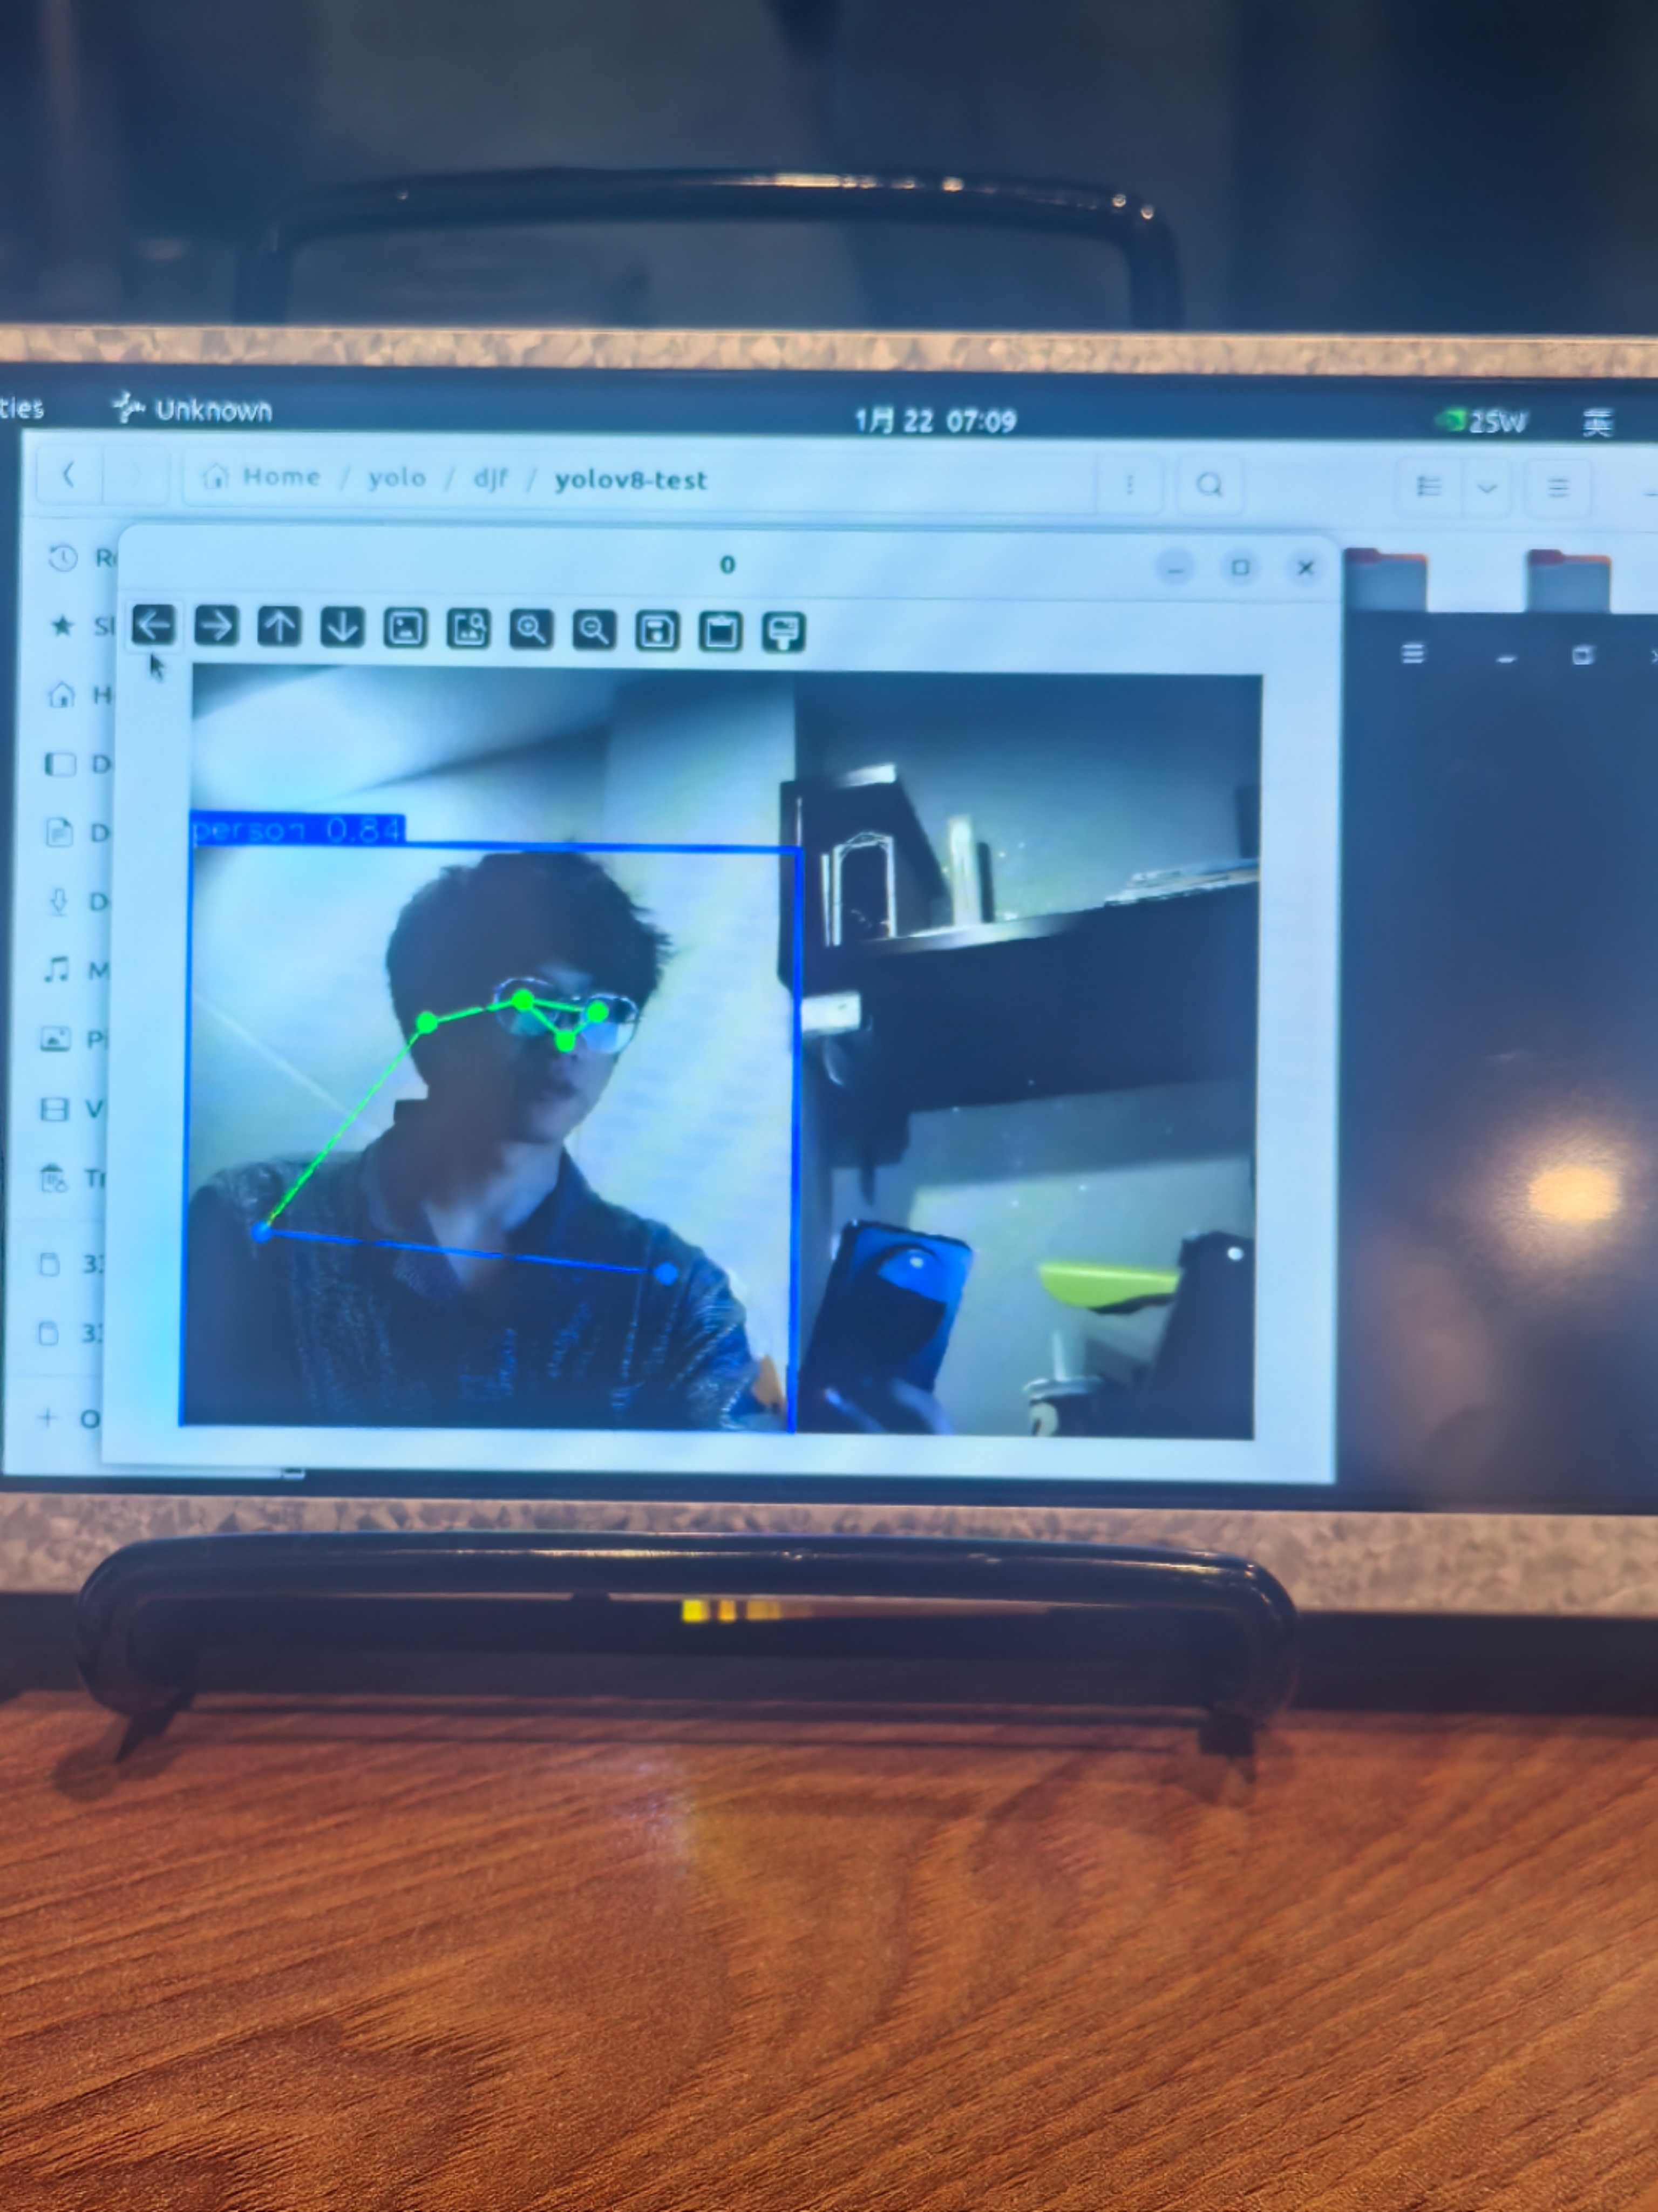
model.predict(source="0", device=0)
而检测的值就是predict的返回值,返回的结构也可以顺藤摸瓜找出来:
1 2 3 4 5 6 7 8 9 10 11 12 13 14 15 16 17
Args: orig_img (numpy.ndarray): The original image as a numpy array. path (str): The path to the image file. names (Dict): A dictionary of classnames. boxes (torch.Tensor | None): A 2D tensor of bounding box coordinates for each detection. masks (torch.Tensor | None): A 3D tensor of detection masks, where each mask is a binary image. probs (torch.Tensor | None): A 1D tensor of probabilities of each classfor classification task. keypoints (torch.Tensor | None): A 2D tensor of keypoint coordinates for each detection. obb (torch.Tensor | None): A 2D tensor of oriented bounding box coordinates for each detection. speed (Dict | None): A dictionary containing preprocess, inference, and postprocess speeds (ms/image).
Examples: >>> results = model("path/to/image.jpg") >>> result = results[0] # Get the first result >>> boxes = result.boxes # Get the boxes for the first result >>> masks = result.masks # Get the masks for the first result
调用YOLOv8的api
总结一下前面所发现的,可以知道要使用YOLOv8来进行预测,只需要:
1 2 3
from ultralytics import YOLO
model = YOLO(model=yolov8n.engine, task=detect)
result = model.predict(source='0', device=0, conf=0.5, show=True)
detections.detections.append(detection) for result in results: self.get_logger().info(f'发布检测结果:{result.boxes.data}') self.get_logger().info(f'用时:{result.speed}') self.pub.publish(detections)
except Exception as e: self.get_logger().error(f"处理失败: {str(e)}")